How do I enable the onscreen keyboard in Windows?
3-09-2020, 02:23. Posted: redaktor
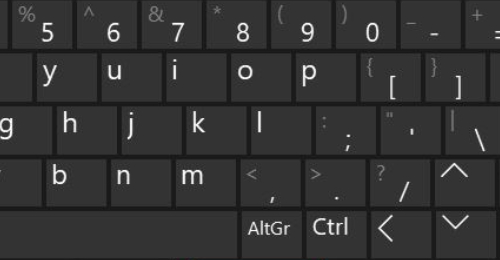 If something happens to a regular keyboard, for example, it is out of order or is simply missing, Windows provides the ability to connect an on-screen keyboard, and then click on virtual keys with a mouse or other pointing device. The on-screen keyboard is displayed on the monitor and looks like a regular keyboard. All keys on it are in the standard way. Keyboard shortcuts also work as standard.
The first and easiest way to launch the keyboard on the screen is to click on the icon in the notification area. If the corresponding icon is missing, then right-click on the taskbar. A context menu will drop out, in it you need to click on the "Show touch keyboard button" tab. Then, by selecting the keyboard icon, display it on the monitor.
The next option is to launch the "Start" menu, select the "Settings" tab (they are replaced by Windows + I), then click on the "Accessibility" tab, then the "Keyboard" item and select "Turn on the onscreen keyboard".
It happens that in Windows 7 it is impossible to bring the keyboard to the display. To solve the problem, you can take the following steps: start the control panel, then click on the "Programs and Features" tab, then click on the tab in the left menu "List of installed Windows components". The "Enabling or disabling Windows components" tab will drop out; you must click on the "Tablet PC components" item. As a result, a virtual keyboard will start on the screen. If the specified option is not in the list of Windows components, you need to update the OS.
The third option is only suitable for Windows 10. First, you need to open the taskbar, click on the search bar, type "On-screen keyboard". As a result, Windows will show a link to a keyboard that is different from the one shown in the first option. It is started by the combination Win + Ctrl + O.
The fourth option is to click on the accessibility button on the lock screen and enter the Windows 10 password, and then select the appropriate option in the drop-down menu.
The fifth method requires launching the control panel, then you need to click on the "Ease of Access Center" tab (Win + U on the keyboard). Then click on the "Enable On-Screen Keyboard" tab. If you want the keyboard to be automatically displayed on the monitor when Windows starts, for example, to type a password without a physical keyboard, you need to launch the Accessibility menu in Control Panel, click on the Use the computer without a mouse or keyboard tab, then select the Use on-screen keyboard option ". Then click "OK" and in the left menu in the "Change login settings" tab select "Use the on-screen keyboard when logging in".
There are several easy-to-fix issues when launching the onscreen keyboard.
In tablet mode, Windows hides the on-screen keyboard icon. This is because there are two separate types of this icon: in normal mode and in tablet mode. To solve the problem, you need to right-click on the taskbar and click on the button to start the desired mode.
Self-launching the keyboard. This is because in the "Ease of Access Center" in the "Using the computer without a mouse or keyboard" tab there is a check mark in the "Use on-screen keyboard" checkbox. You need to uncheck the box, after which the keyboard will not be able to display itself.
A situation may arise that none of these tips worked. Then, in the "Start" menu, right-click on the "Run" icon (you can replace it with Win + R). In the drop-down tab, type services.msc. A list of services appears with the line "Touch Keyboard and Handwriting Panel Service". You need to double-click on the line, after which it will start.
Come back